How to keep customers coming back when you’re a tradesperson
September 28, 2026How to install an ATE: an installation guide for damp walls
October 8, 2026Insulating a damp wall from inside: treat the masonry before you line it

Insulating a damp wall from inside without treating the source of the water first just seals the problem behind your lining. When the damp comes up from the ground, the safe method runs in three stages: treat the rising damp in the masonry, leave the wall bare for several months, then insulate while keeping the treatment device against the load-bearing wall. You can supply this treatment, install it, and put it on the same quote as the insulation.
What rising damp does to your insulation
Insulation installers often find the damage when they open up an old lining. On a load-bearing wall drawing water up from the ground, every layer of the build-up reacts in its own way:
- fibrous insulation can soak up water from the bottom, compress and lose some of its insulating power;
- plasterboard swells, stains and loses its grip near floor level;
- adhesive dabs on a bonded lining lose their hold on a backing that stays wet;
- metal tracks fixed to the floor can corrode;
- mould takes hold in the confined space between the wall and the lining, with the smell that comes with it.
The lining itself makes the phenomenon worse. By covering the masonry, it reduces the surface the water was evaporating through. Damp then climbs higher up the wall, or gets trapped behind the insulation. That’s the classic pattern behind a damp wall reappearing after a renovation — and it’s your own work the customer sees deteriorating.
Insulating a damp wall from inside: checks to make on site
Before you quote, work out why the wall is damp. A cold wall that’s condensing and masonry pumping water up from the ground don’t call for the same answer, and insulation only fixes one of them.
Is the wall condensing, or drawing up water from the ground?
- Condensation: diffuse staining higher up, in corners and behind furniture, mostly in winter, often with mould. Insulating and ventilating are part of the answer.
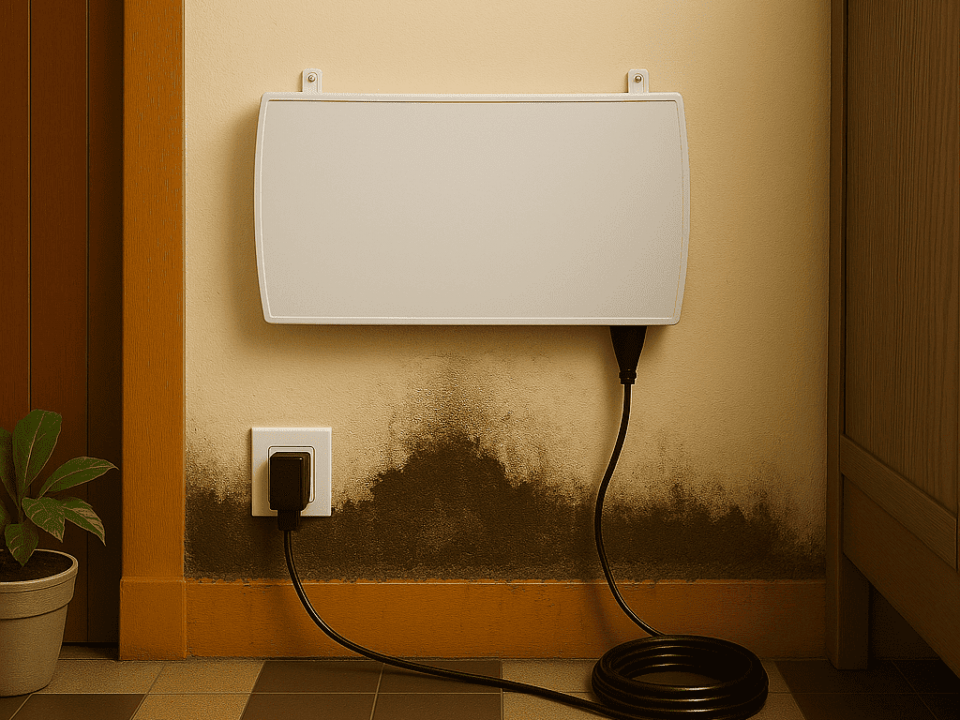
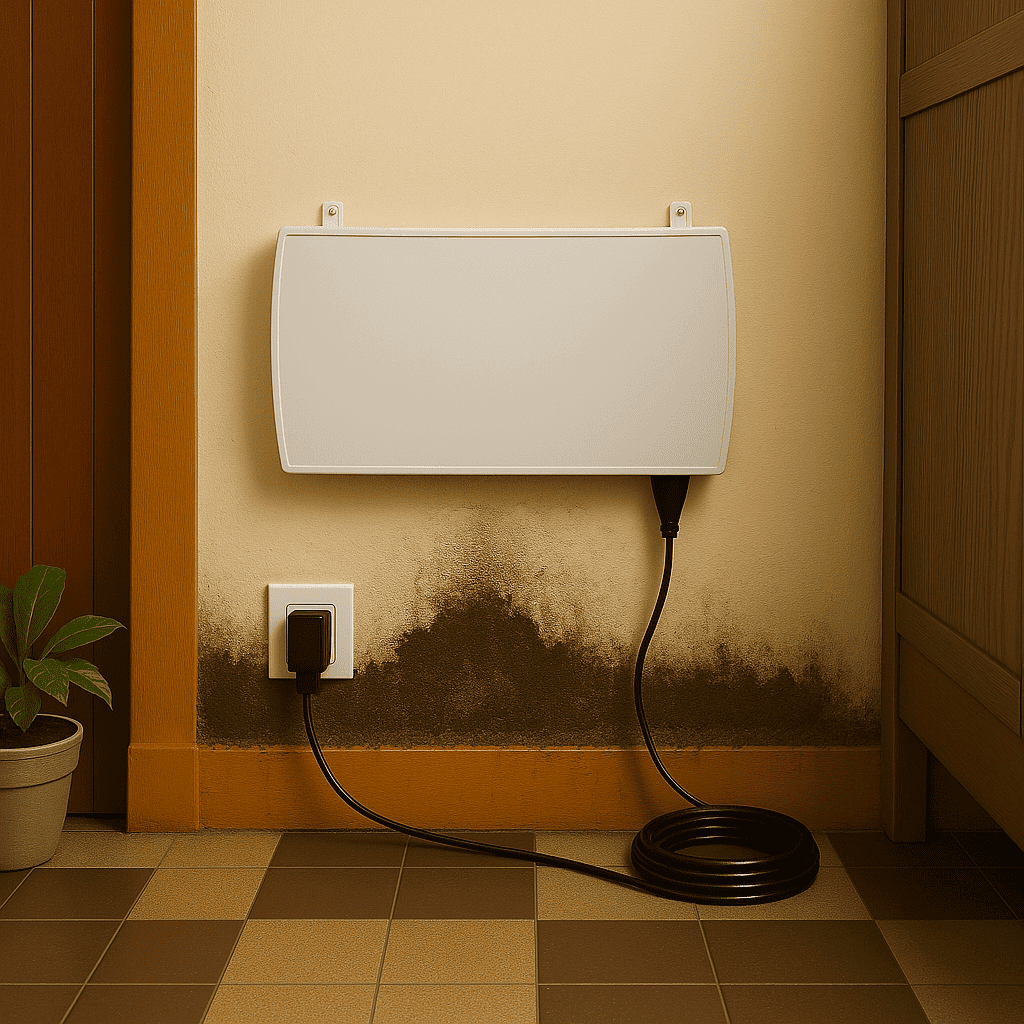
- Rising damp: a fairly even damp band at the base of a load-bearing wall, white deposits, damaged skirting boards, in any season. Insulation on its own won’t treat it.
- Infiltration: a localised patch that gets worse after rain, under a window or on an exposed elevation. That’s a waterproofing issue.
For cases where the diagnosis isn’t clear-cut, see how to tell condensation and rising damp apart.
The state of the existing lining
If the wall is already lined, open up a small section at the base: damp insulation, black marks or white deposits tell you more than the surface finish.
The points that shape the treatment
- is the affected wall load-bearing? A non-structural partition isn’t treated;
- which sealed finishes cover the base of the wall (cement render, closed paint, or bonded tiling);
- where is water getting in from outside: guttering, downpipes, drainage gullies, the slope of the ground;
- is there a permanently live, earthed socket, independent of any switch, near the dampest area;
- how far is the future fitting point from the furthest affected wall.
Finish by marking, in pencil and dated, the top line of the wet area. That mark will help you and the customer track the drying.
Work order, from treatment to new lining
Step 1: remove what’s sealing the water in
Strip out the old lining and its insulation over the damaged height, then the sealed finishes at the base of the wall. The masonry needs to be able to let water evaporate again.
Step 2: install the polarity inverter
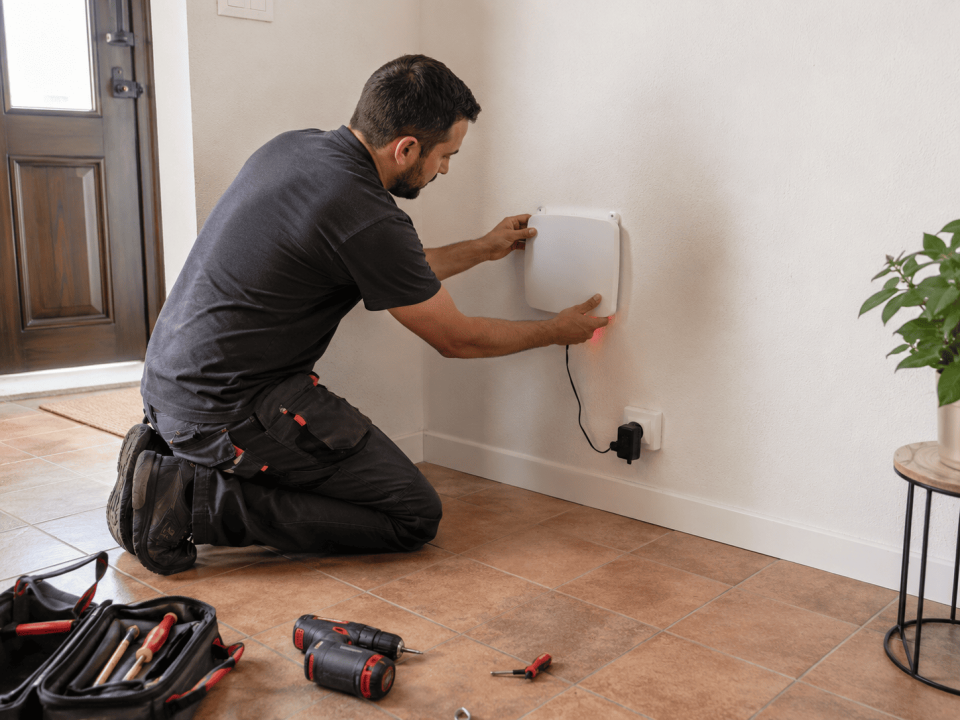
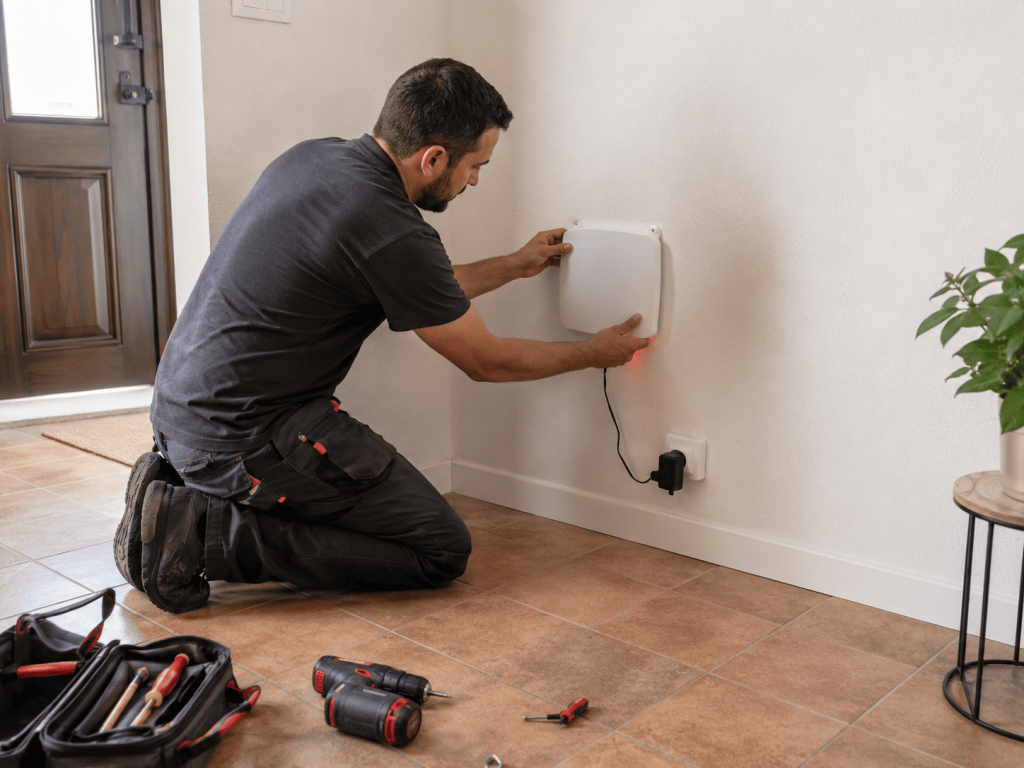
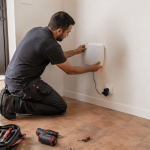
Fit the device low down, against bare masonry, facing the wettest area and clear of corners: a corner cuts the coverage radius in half. It acts on the water sitting in the brick, stone or mortar, gradually drawing it back down towards the ground.
Step 3: correct outside water ingress
A downpipe discharging at the foot of the elevation, or ground sloping towards the house, keeps feeding the wall. Have the relevant trade correct these before you insulate.
Step 4: leave the wall bare
The wall stays uncovered for several months before it’s closed back up. Warn the customer: during this period, the wall pushes salts out to the surface and can look whiter even as it dries.
Step 5: insulate in a second visit
Fit the insulation afterwards, leaving the area around the device clear. On older masonry, steer the customer towards a breathable system that lets water vapour pass, for example wood fibre, cork or lime-hemp, rather than a sealed build-up.
Splitting the job into two visits works in your favour: the second visit is already on the quote the customer signs at the first.
Keeping the device against the masonry under the future lining
This is the one constraint specific to your trade. A polarity inverter needs to touch the load-bearing wall: plasterboard, insulation or a stud wall in between will compromise the result.
- leave an access panel in the lining at the device’s location;
- keep the socket that powers it accessible and in service;
- don’t shift the device into a corner to simplify your setting-out;
- mark its position on your drawings and tell other trades it stays permanently plugged in.
To choose the right model, measure in metres the distance from the device to the furthest affected wall; the floor area you’re insulating doesn’t come into it:
- ATE LC15: a smaller area, with 15 metres of coverage;
- ATE LC30 and its newer version, the ATE Pulse: 30 metres, the usual set-up for a single-family house;
- ATE MAX: large volumes, older buildings or commercial premises, with 60 metres of coverage.
No earthed socket nearby? The ATG, fully passive, sits on a stable piece of furniture or fixes to the wall with no wiring at all. It stays a fallback option: as soon as a permanent socket is available, the ATE takes priority, and adding a socket is a job for an electrician. Positioning details are in the on-site installation guide.
Adding the treatment to your insulation quote
You’re standing in front of the wall when the question comes up: supply and install the treatment yourself, then break it out line by line.
- supply of the device: exact model and coverage;
- installing and checking the socket;
- stripping out the old lining and the finishes at the base of the wall;
- insulation as a second visit, after the wall-bare period;
- a written note of scope: rising damp only; infiltration, flooding and surface mould are other trades’ work (waterproofing, ventilation).
The equipment is ordered from Help Humidité Pro, a subsidiary of Humidistop reserved for professionals, which sells ATE and ATG devices at trade prices. Registration is done with your company registration number, your business name and a contact; the account is validated on the spot and trade prices show up straight away. No minimum order: one device for your first job is enough. The parcel arrives within 7 working days, with free delivery, paid by bank transfer or PayPal.
Attach the explanatory sheets and illustrations provided to your quote: it helps the customer understand why their insulation is waiting a few months. Every device, made in Castres, carries a 10-year manufacturer’s warranty.
Frequently asked questions
Can you insulate a damp wall from the inside without waiting?
If the damp is rising damp, no: treat it, leave the wall bare for several months, then insulate. If it’s condensation on a cold wall, insulation and ventilation are part of the fix straight away.
Is an air gap behind the insulation enough?
It moves the insulation away from the masonry, but the water stays in the wall and keeps rising. An air gap partly protects your work; it doesn’t treat the cause.
How long does it take for the wall to dry out?
On a job installed to the guidelines, improvement usually becomes visible after 18 to 24 months. The starting point matters: the thicker and wetter the wall, the longer the wait. To explain it to a customer: how long does a damp wall really take to dry.
Does the device use much electricity?
Very little: around 0.75 W running continuously, which works out at roughly €15 a year. It runs silently, with no maintenance.
How do I order as an insulation installer?
Set up your account on the Help Humidité Pro trade shop with your company registration number. Access is immediate, with no paperwork to build up and no minimum term.
In summary
Before insulating a damp wall from inside, trace the water back to its source. Facing rising damp, the sequence stays the same: open up whatever is sealing the masonry, fit the device against the bare wall, correct water ingress, wait several months, then insulate while keeping the device’s spot clear. You protect your own work, add a line to the quote and schedule a second visit. To get that customer coming back to you afterwards: how to keep customers coming back as a tradesperson.