Your hygrometer reads 70%: what it is actually measuring
October 24, 2026
Mould only behind the wardrobe: what to check first
October 24, 2026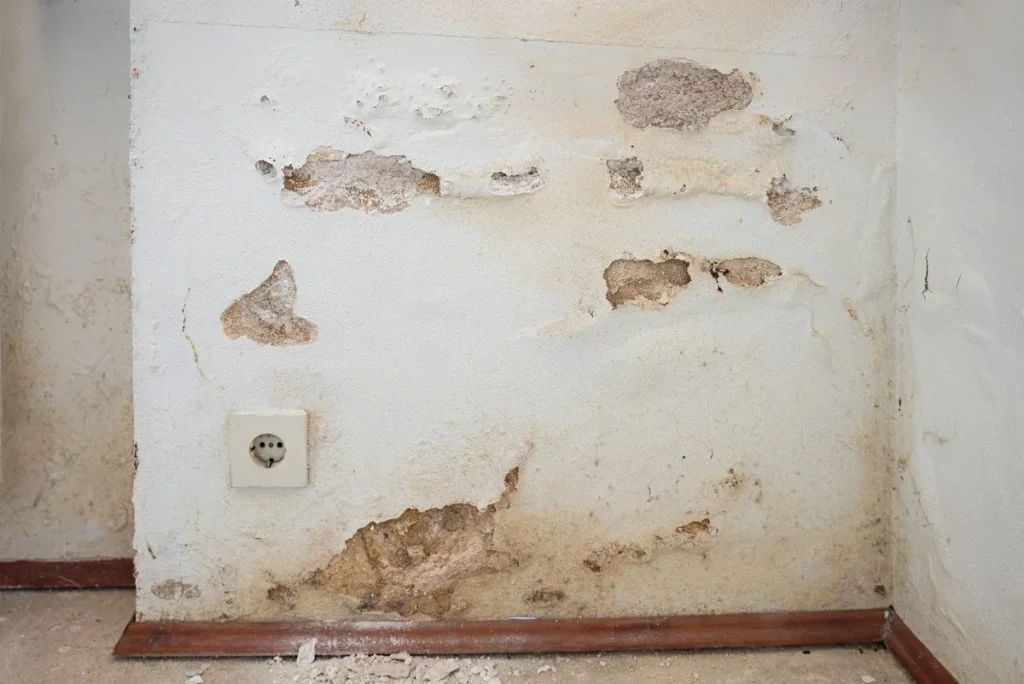
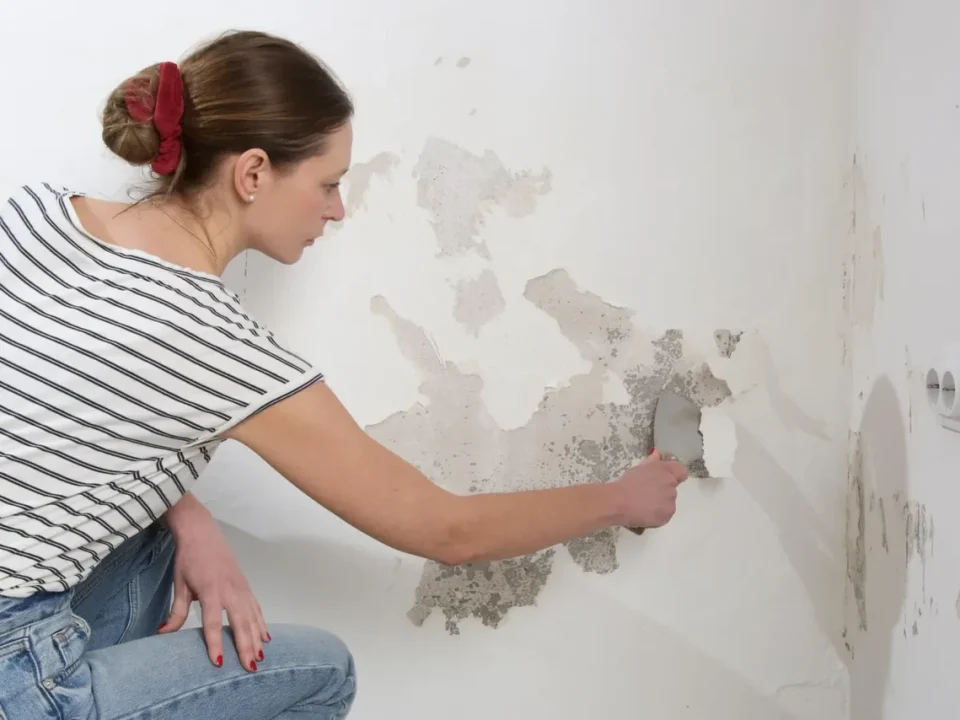
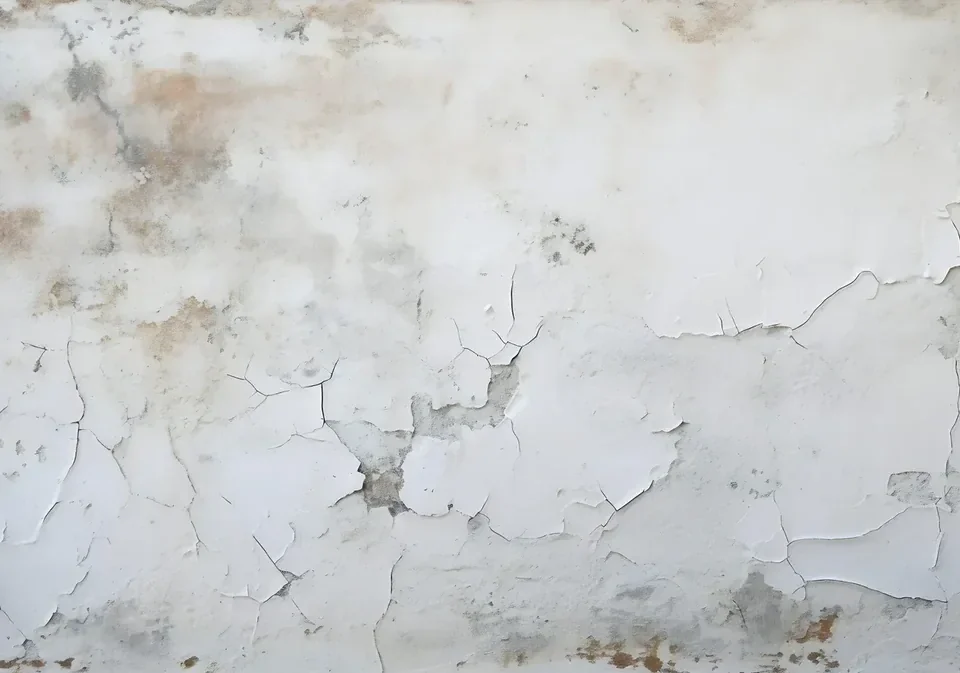
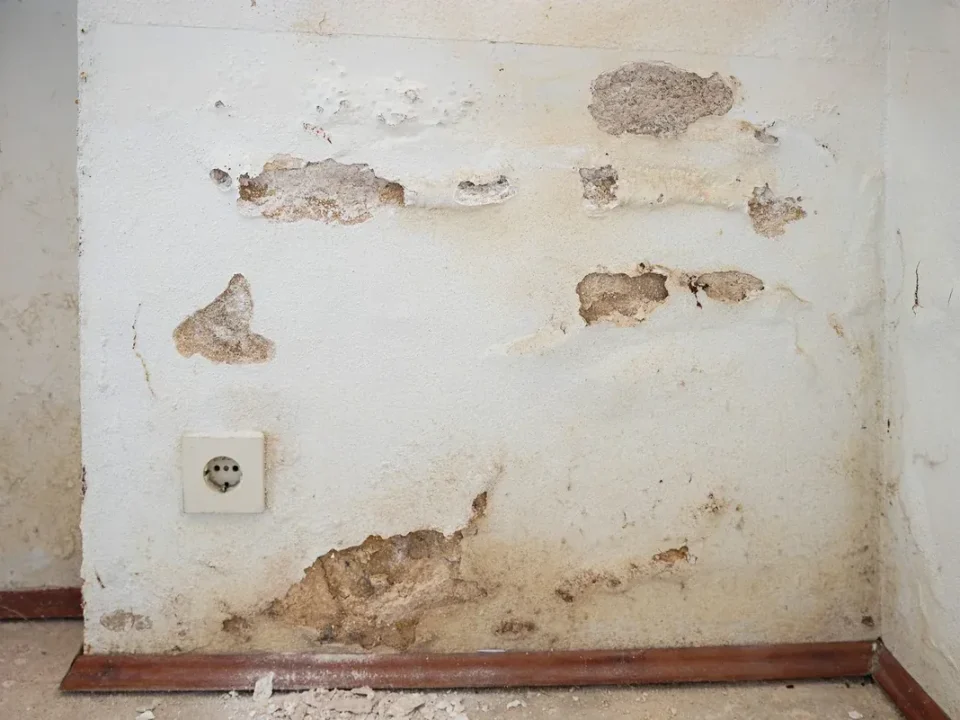
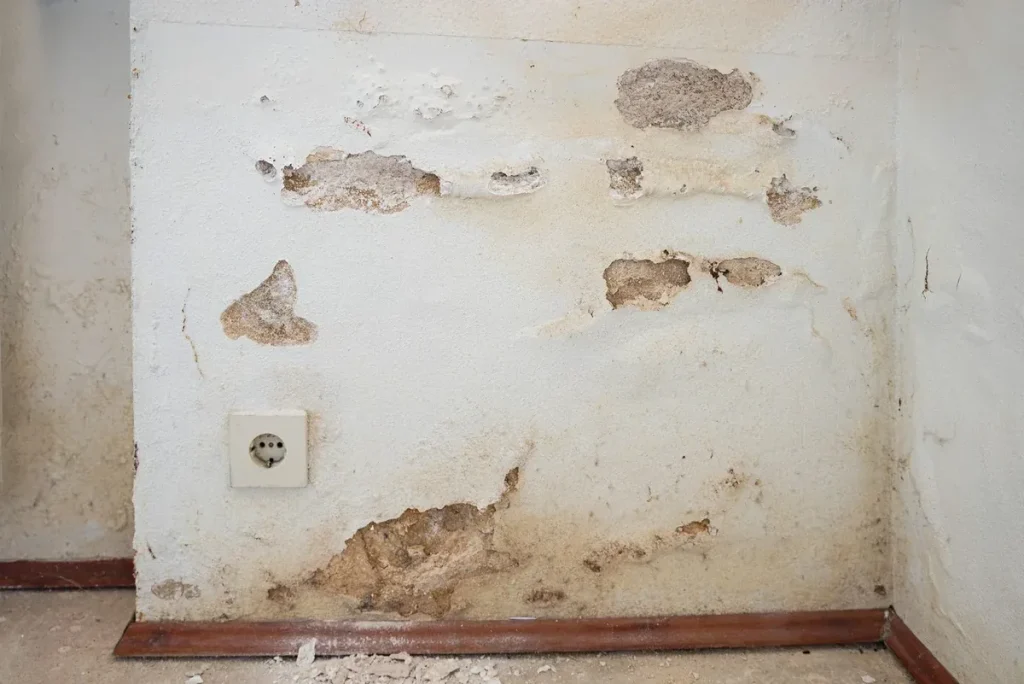
The mark returns after heavy rain, then sometimes fades between showers. Before repainting, put together a small photographic record. It cannot replace a building inspection, but it helps explain where the problem happens and when it starts.
Take these seven views
- The whole room, to show the location.
- The stain straight on, with a size reference kept clear of damaged material.
- The junction between the wall and the floor or ceiling.
- The window and its edges, if nearby.
- The corresponding outside wall, photographed from ground level.
- Visible external details: downpipe, window sill or crack.
- The same area after a dry spell, from a similar position.
Stay on the ground and in safely accessible areas. There is no need to climb onto a roof or take equipment apart for a photograph.
Add a short timeline
Record the date, time, room and delay between rainfall and the mark appearing. Mention recent building work or any observed leak. Keep older pictures: a comparison across several days is often more useful than one close-up.
Choose the treatment afterwards
A link with rain is a clue, rather than proof of the exact cause. Water ingress, plumbing leaks and rising damp need different responses. Arrange a check suited to the building before selecting repairs or equipment.
When asking for advice, seven labelled views and a few clear dates are easier to assess than a large collection of photographs without context.